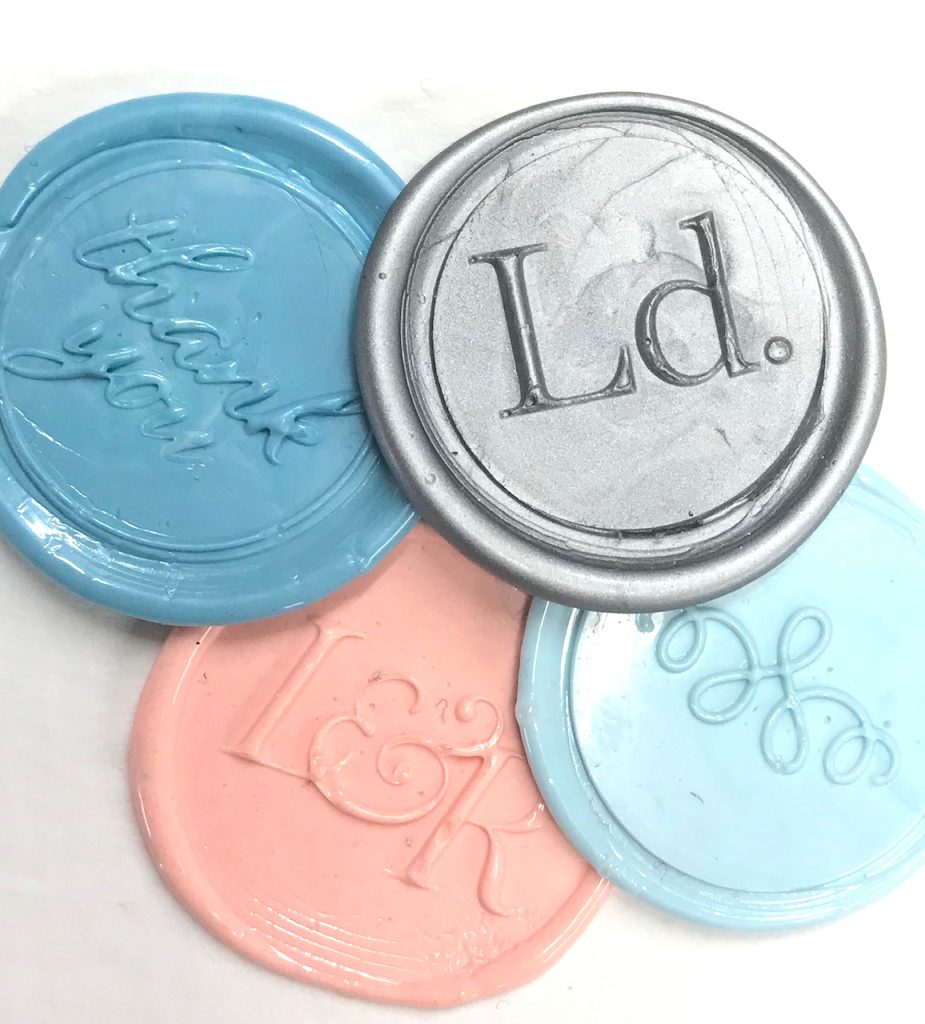
Making your own wax seals from your Photopolymer plates.
This is something we’ve been saying is possible for quite a while, a cost effective method of creating wax seals for use with your stationery.
As long as the artwork that you supply is suitable, there is no reason why you cannot use our plates to make your seals.
See below for more info and a PDF you can download…
Artwork Guidelines
Just like when you supply artwork to us for creating printing plates, there are a few simple rules which need to apply when you send us your wax seal artwork.
1. Firstly when you send us artwork for wax seals, you must tell us that this is what you intend to use your plates for. We have to develop the plates in a certain way so that you can get the deepest relief out of them, so please don’t include them mixed in with your letterpress plate artwork.
2. Same rules apply as for letterpress plates, all artwork should be 100% K, supplied as a CMYK document with all fonts outlined.
3. The difference comes in the thickness of the lines. We recommend a min. line thickness of 1mm or 2.835pt, this will allow for enough space for the wax to enter your design, the thinner the line the less depth you will get on your seal, this is the same with metal wax seals.
4. Size, can be whatever you want, how big do you want your wax seal? We work to 25mm because we have a handle we can fit the seals into., but you can work to any size or more importantly shape you want. If you just have a old handle or if you’ve bought a knob style from a local DIY store, you can just stick your polymer seal on to it and away you go… but more info on that here. coming next.
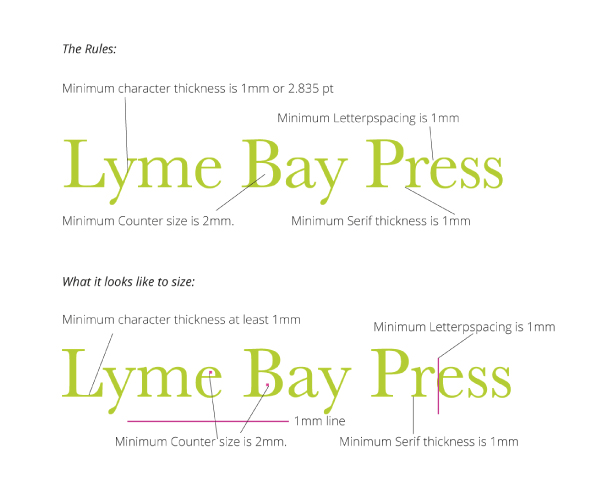
The above image is one we supply in our sheet about creating artwork for embossing but the rules are the same whether you are using type or images in your artwork.
Avoid lines thinner that 1mm and avoid reversed out lines thinner than 2mm.

This image, shown to size at 25mm lets you see the ideal thickness that your artwork should be to create a deep well on you seal. ( not necessary 25mm on screen).

This image, also shown to size at 25mm lets you see how a thicker font is needed on the seal, as previously said, thinner lines will work but they won’t be as deep. ( not necessary 25mm on screen).
Now for the good bit…
You’ve mastered the design and had your seal made by us and now you’re ready to make your wax seals. Now, it doesn’t matter if you are using brass seals or polymer the process is the same and to get the perfect seal needs practice. You’ll see from the pictures that follow, we need more practice…!
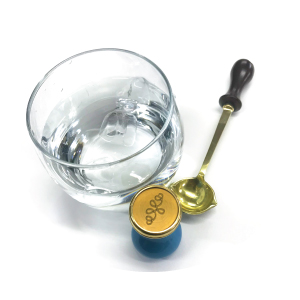
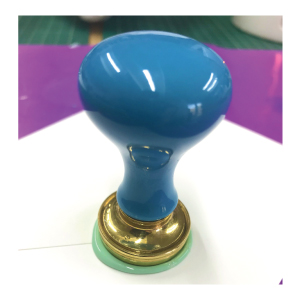
Your tools, just the same as wax sealing with brass or metal, but using a polmer plate instead, you can see ours mounted in the handle. importantly you will see a glass of ice cold water.
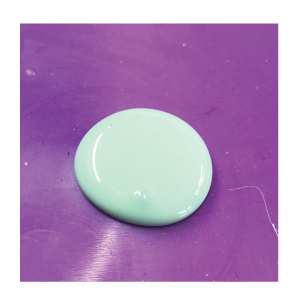
Melt your wax as you normally do, we pour on to a silicon baking sheet so we can mount the seals afterwards, but you can seal directly onto your board or envelope.

Important, place your seal in ice cold water between impressions, this will cool down the seal and make sure it doesn’t stick to you wax.
We always, just give our seal a little dry off before placing on the wax and to stop any drips on to paper…. let it sit there for a short while whilst the wax goes off……
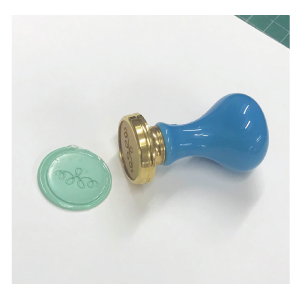
That’s it, you’ve done it, gently remove the seal from the wax and bingo, you have a wax seal, don’t forget, if you haven’t made lots of these, have a practice, if you use a silicon baking sheet and a pot to melt your wax, you can always remelt in the pot if it doesn’t come out the way you want it to.. Of course, this can depend on your wax, read their small print!
Making Wax Seals – Download the PDF here.