Thermography isn’t new, it’s been around a long time but in recent years it has taken more of a back seat whilst letterpress printing has fourished.
Once known as the poor mans engraving, thermography leaves a beautiful raised finish to your work. You can choose to add metallic flourishes using the silver and gold powders, or print in any colour that you like and then use a clear gloss thermo powder to raise that image or text.
Simply apply the thermo powder to wet sticky ink and apply heat. You can use a hand held craft heat tool if you don’t have a large thermo machine… it’s that easy.
Here we have a How to… bring thermo back PDF, telling you just how to apply thermo powders to your prints and of course, when you’ve made up your mind which one you want to try a link to the powders in the store.
If you can’t load the PDF, just scroll down, we have the info there for you…
Let’s bring Thermography back….
You’re here so that’s a start, hopefully you’ve done a little bit of research into what thermo and printing is and now you’re ready to give it a go…
If you are already a letterpress printer, thermo is just another dimension that you can add to your work to give it that little extra something. Thermography has been around for years and once was called the poor man’s engraving, achieving a raised print without having to go to the extreme cost of having a piece of work engraved. To do this you would have to send your
work out to a specialist printer but with thermography, you can do it all yourself with minimum cost, always good, and with minimum materials and tools.
There are, as always, a couple things to consider: your design and the type of paper you are printing on (very important). So, let’s start at the top;
What is Thermography?
By definition thermography is the production of raised image prints by the use of heat. To break it down to basic components, the process involves covering a wet sticky ink with a thermoplastic powder, heating it until it flows and forms a coating over the ink, then cooling it down so the covering sets. The process is explained in the diagrams below:

Getting it Right
To obtain good results from your Thermographic machine or heat gun, you must first obtain a high-quality image from your printing press. This may sound obvious but there are certain differences between printing for Thermography and just producing normal prints.
Inks
Thermography needs ink that stays ‘open’ or tacky, in fact sticky would be a better word, so that the powder can adhere to it in sufficient quantity to give a suitable raise and smooth finish. Most Thermography can be produced using standard inks, but if necessary, the characteristics can be altered by the addition of varnish to achieve the desired ‘tack’. We personally prefer to use a rubber-based ink so that it stays open that little bit longer to hold the powder; it’s also a little stickier than an oil-based but both will work.
Stock/Paper/Board
Generally, most stocks can be thermographed, but for best results a stock with a good hard surface and low moisture content is ideal. Ink will actually sit on the surface of the paper catching more powder to give a nice high raise. However, as all stocks are not the same, the weight, texture, colour and moisture content of the paper should be taken into
consideration.
1. Heavy paper requires more heat to melt the resin.
2. Certain textured stocks may require a larger resin for a smooth finish, but a little more ink will help.
3. Stocks with too much moisture will have the water boil off under the heaters giving a bubbly or cloudy effect to the raised areas.
4. Dark-coloured stocks absorb heat faster than light coloured stock, this isn’t too much of an issue if you are using a hand heat tool for melting the ink but be aware if you are using a thermo machine. Every job will be different so leave yourself enough time to test.
5. Absorbent/uncoated stocks soak up thin, oil-based inks too fast, leaving nothing for the powder to stick to. Oil based inks dry by absorption and rubber by evaporation, it is worth looking at oil-based inks for this process if you are using a particularly
absorbent board.
Letterpress
Thermography requires a good quantity of ink to be transferred in the very nature of the process but if the design is pressed into the paper the thermographic powder will have to raise out of the resulting depression and above the surface of the paper to achieve the
desired result, you need to go for a kiss impression to get the best result. Therefore, a little more time spent, ‘making ready’, will result in a far better finish.
Other things that may happen…
Paper Curl
Paper subjected to intense heat will curl, but long slow heat will not curl the paper so badly. Take it easy when you heat the powders: don’t go straight in with a blast of intense heat.
Impression
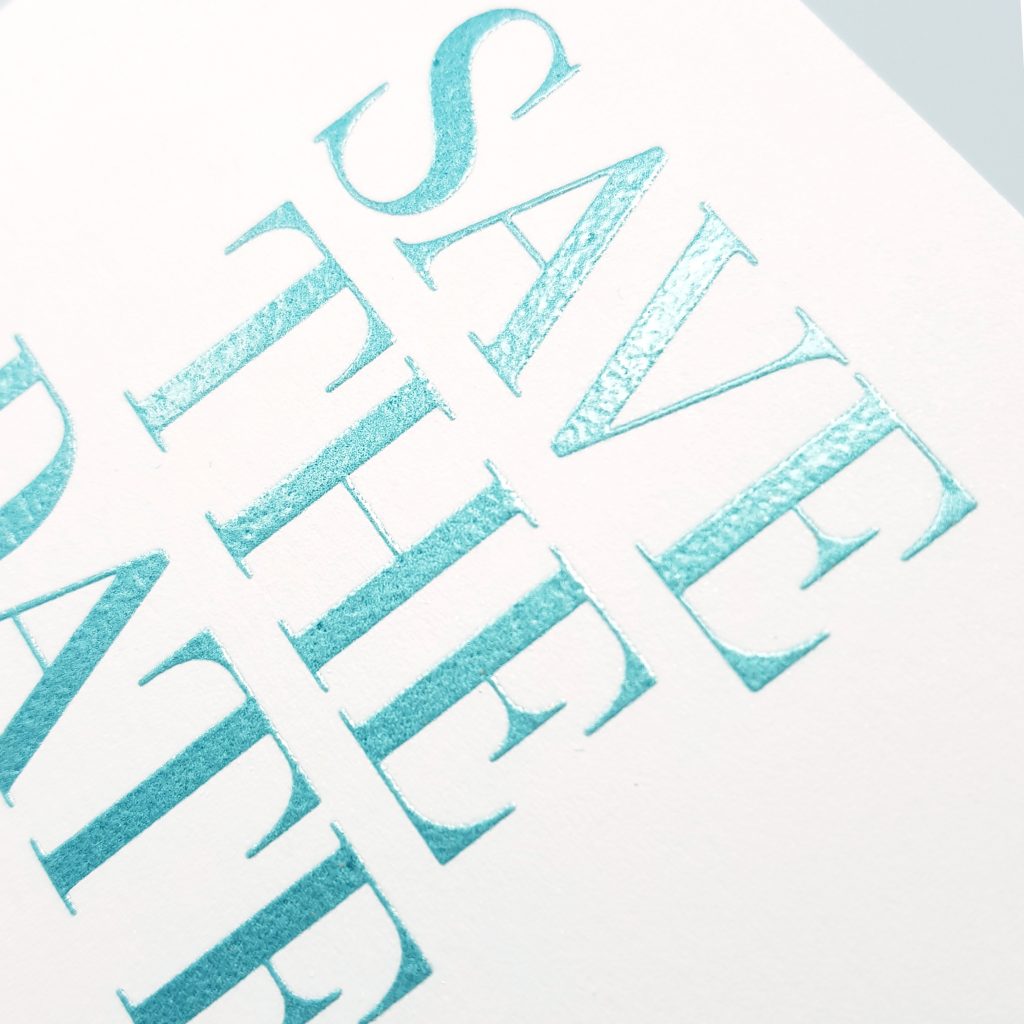
As previously mentioned, you want your ink to sit on the top of the board and not in it with a deep impression or you’ll never see the rise of the thermo powder. A kiss impression is needed. Having said that, you may not want a high raise but then why go for thermo? but there is a reason: using a clear thermo powder on a fine design can give a lovely, shiny, almost spot varnish effect without giving too much of a raise… just as effective and may just be what you want.
Have a look at the image below to see what we mean;
Don’t dry out…!
If you are using a handheld heat tool to melt your powder, we suggest printing no more than 10 items at a time and then applying the powder, so that the ink doesn’t dry out in between time. Once the powder is on you can leave the job sitting there; you don’t have to melt the powder straight away, but we do because that’s how we roll. Space can also be an issue, you may not have the room to lay out 100 invites and then go back with your heat gun. We also find it breaks the monotony.
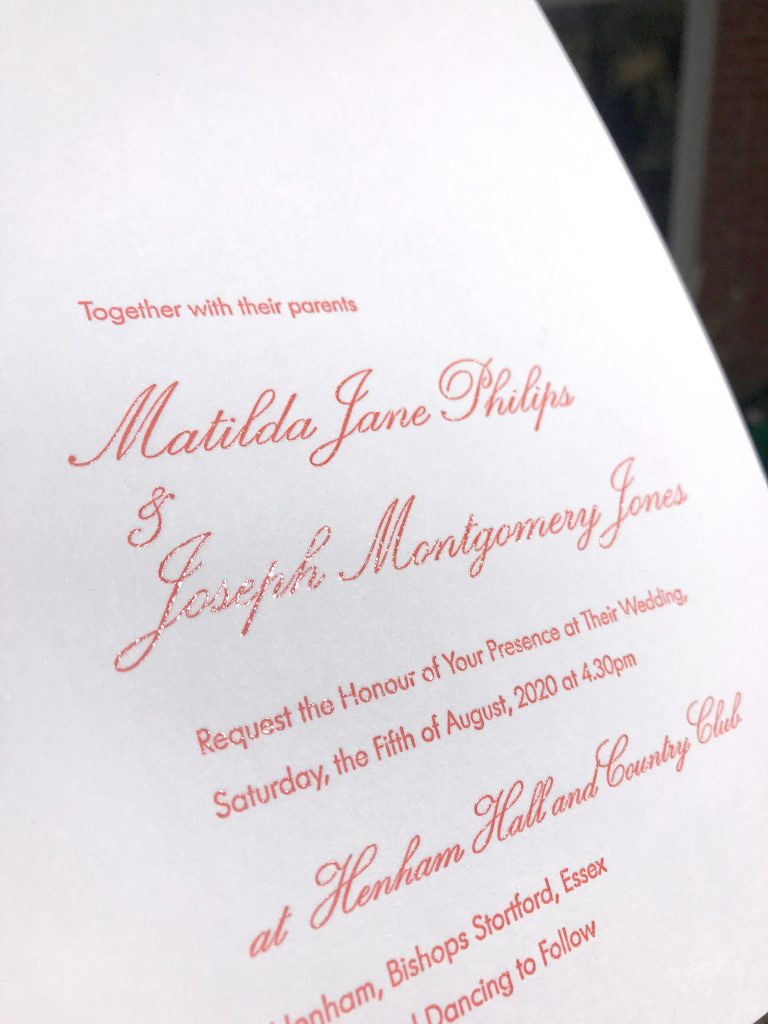
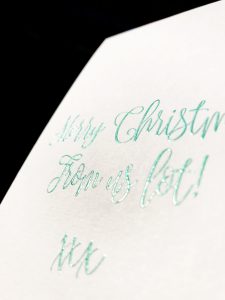
Here’s a pic. of what you are aiming to achieve… forgive us for not being photographers!
Don’t stack large piles!
The thermo powder will need 24hours to cure properly so as you’re doing your work, don’t
stack in a way they mean each piece will stick to the one you place on top of it, you’ll
probably flatten the work and will ruin it!
Troubleshooting…
OK, sometimes things go wrong or come out not as you intended… here’s some problems
you may have and things to consider in fixing them:
1. Finished job appears dull
– Too much heat causes the powder to boil. Reduce heat or move away with your heat source.
2. Uneven Image, finish not smooth
– Adjust heater temperature; A long slow heat gives best results
– Do you have enough ink/powder on your design?
– Are you using the best ink you can? As previously stated, we like rubber!
3. A bubble or crater effect on the surface
– Could be a sign of excessive moisture in the paper stock, this can be the way the paper is made, or you may have been storing it somewhere damp. Every type of paper is different and may need looking after slightly differently, but don’t worry,
most of them will be fine. Store your paper in a warm dry.
– You could still be using too much heat. Lower the temp if you are using a machine or start further away if thermographing by hand.
4. Insufficient Raise
– Excessive heat will spread and flatten the image area.
– Smooth paper gives the best result; textured may not give you the result you are after.
– Are you printed too deeply into the paper, a kiss impression is the way forward, if you have too much impression on your design you won’t see the raise.
5. Finished design is too yellow….
– Excess heat will scald the powder – turn it down!
Guillotining
If you’re working oversize and need to guillotine your work afterwards we find that it is best
to cut in small quantities. Make sure your knife is sharp and if you can adjust the clamp
pressure make sure it’s as light as it can go without flattening your stack.
Block both sides of the stack to relieve some of the clamp pressure and cut away. Also, and
possibly most importantly, leave your work overnight to make sure that the powder is cured.
The end
So that’s about it… apart from telling you how and we’ve pretty much covered that, but here
is the simplified version…
1. Print your design using a sticky ink and kiss impression
2. Cover your design with the thermo powder and shake off any excess
3. Heat the area gently with a heat gone or place through a thermo machine
4. Don’t stack the finished pieces until they are cool and even then, keep the stacks
small.
5. You’re done, run your finger over the lovely cold raised print, give yourself a pat on
the pack and take lots of pics for Instagram…